You have surely experienced this scenario yourself.
Task complete. Formatting is immaculate. Properly aligned pages, like a professional. You submit it... and voila – “File Size Exceeded.”
What does one usually do in such a situation?
One tends to hurry up, apply any random compressor available, and end
up submitting an illegible document, which means losing valuable grades.
Why PDF Compression Can Cost You Marks
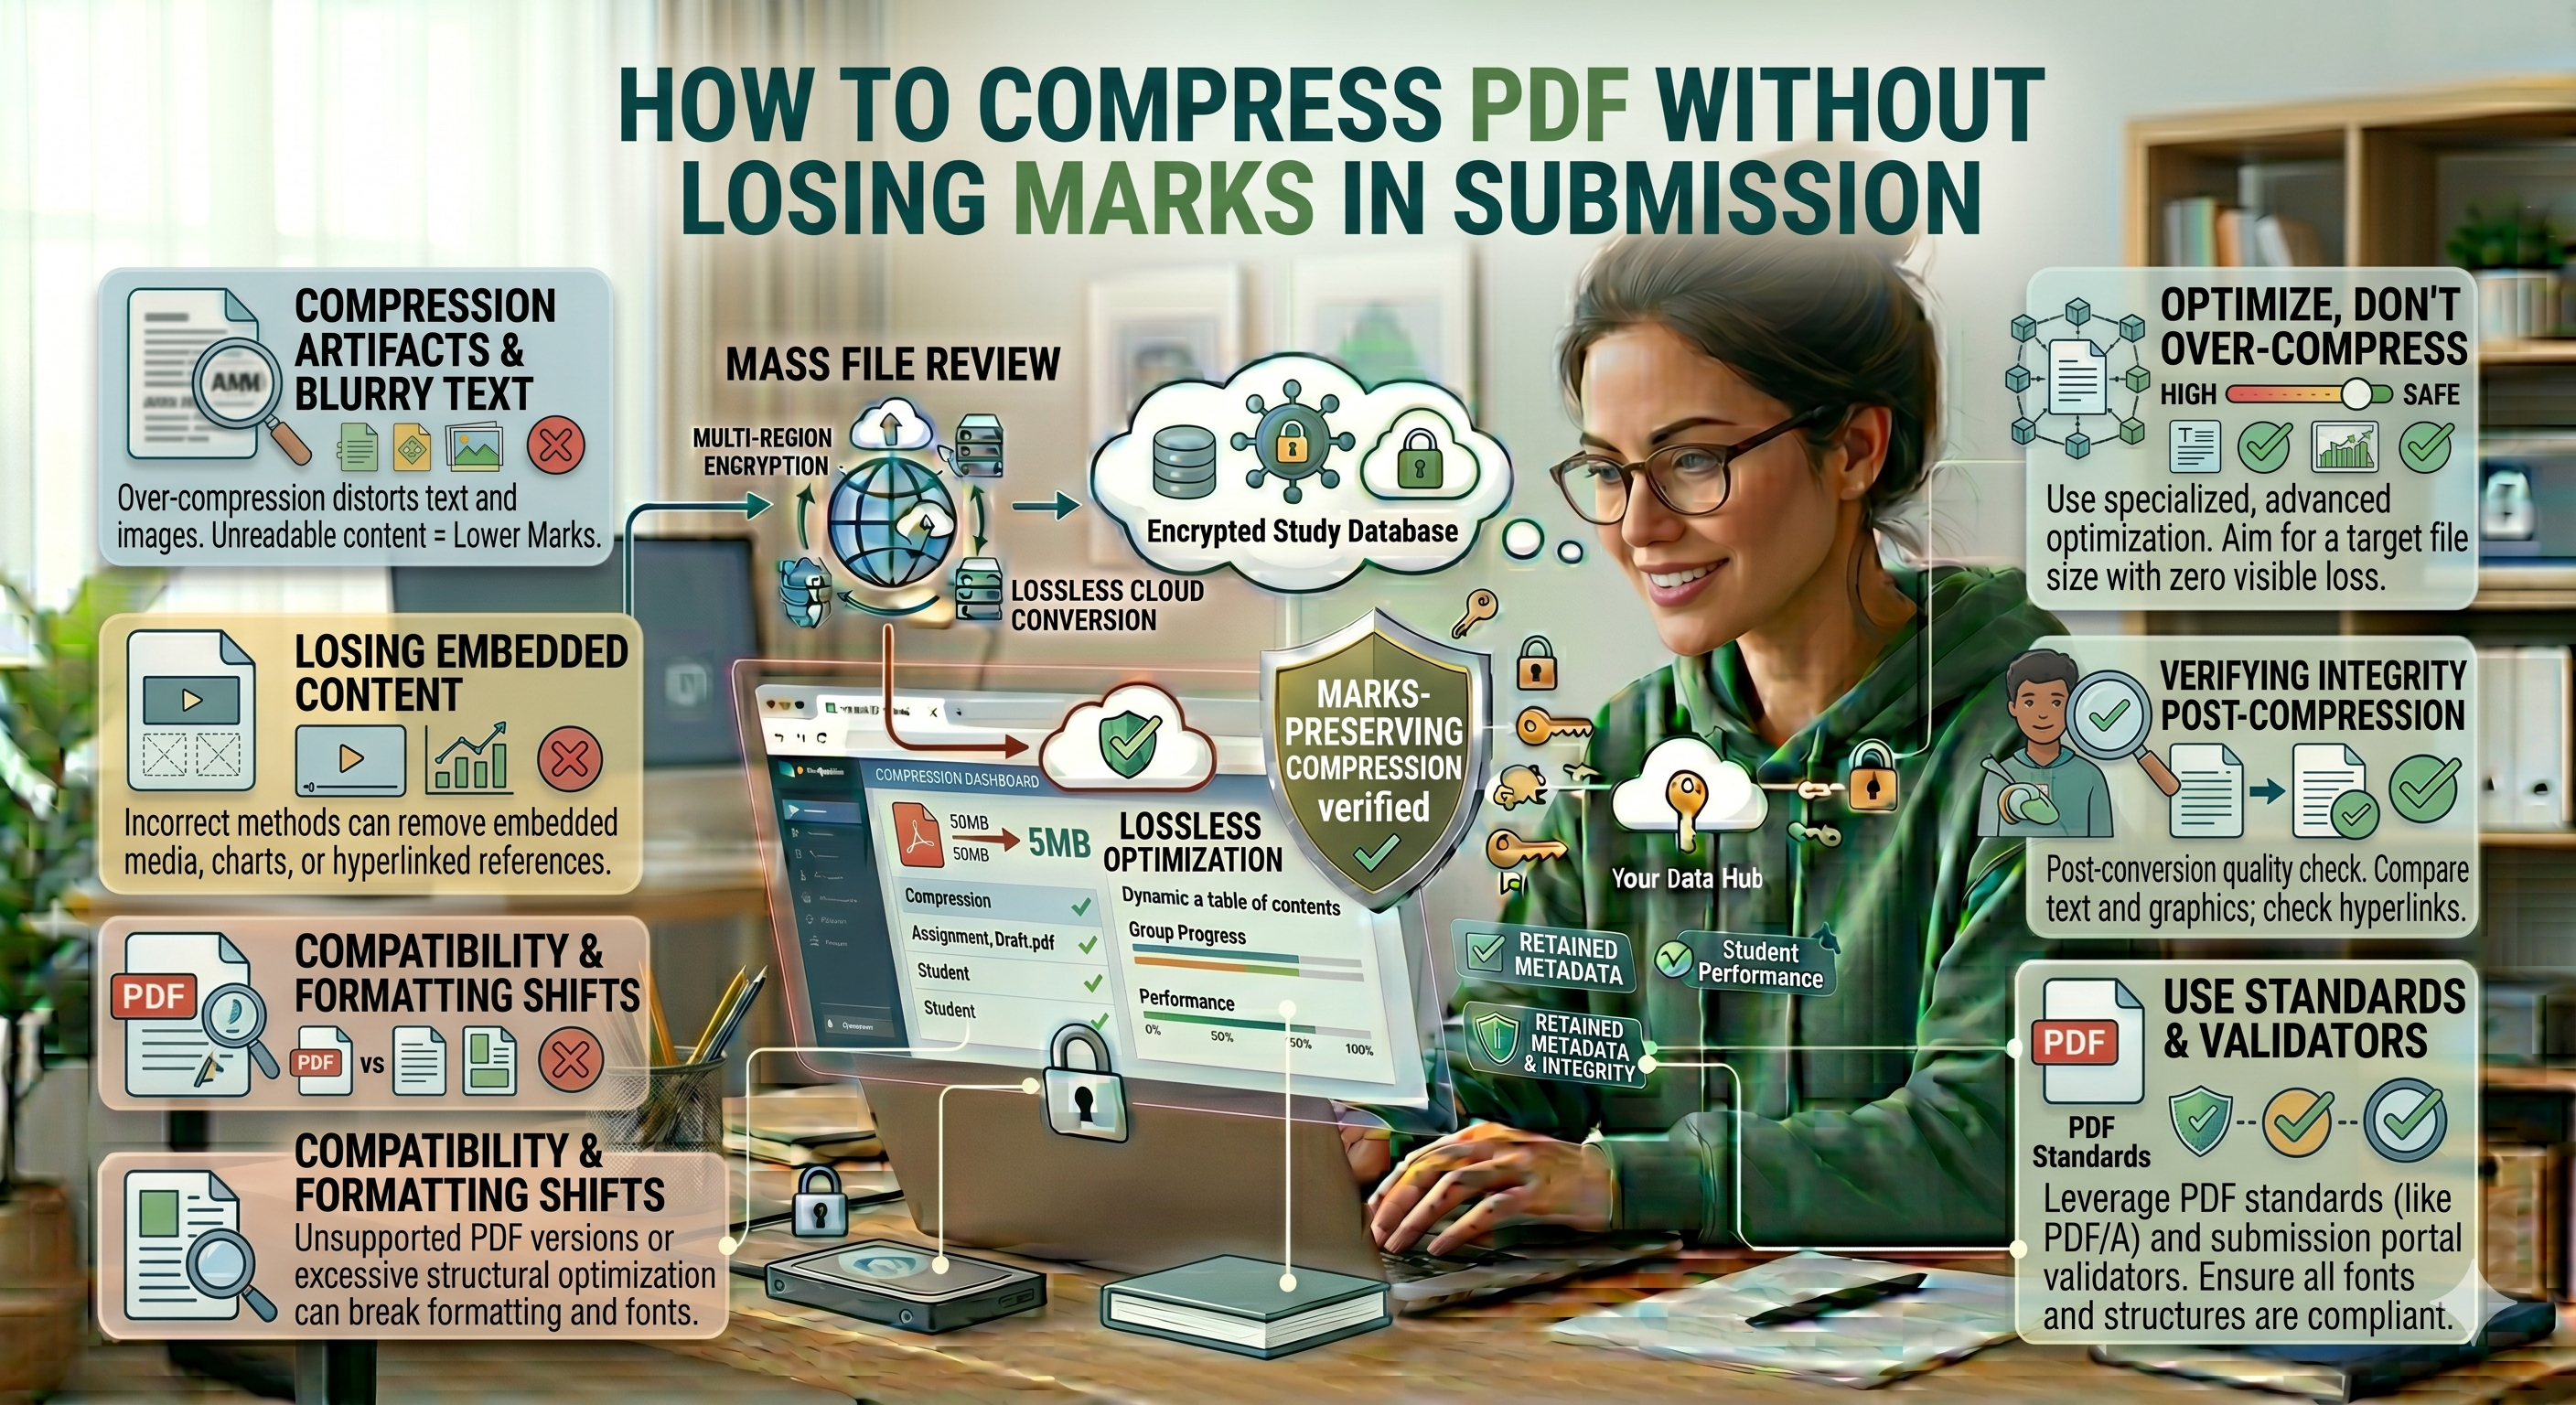
Before jumping into “how,” let’s understand the real issue. Compression isn’t just about reducing file size—it’s about what gets sacrificed in the process.
What usually goes wrong:
-
Text becomes slightly blurred (especially scanned PDFs)
-
Diagrams lose sharpness
-
Handwritten content becomes harder to read
-
Margins and layout shift
-
Fonts get distorted or substituted
Now imagine a teacher reviewing 100 PDFs. If yours is harder to read—even slightly—you’re already at a disadvantage.
The Purpose: Intelligent Compression vs. Mindless Compression
Rather than:
“How do I make the file smaller?”
Ask yourself:
“How can I make the file smaller without affecting the readability?”
This question alone makes all the difference.
Step 1: Work with an Optimal Original File
Compression becomes effective only when your original file is optimal.
If you scan any document:
-
Ensure there’s enough light on (no shadows)
-
Keep your page straight and aligned
-
Utilize applications like Adobe Scan/Microsoft Lens (these apps automatically crop)
If you export from Word/PPT:
-
Save it as PDF – choose “Standard”/“High Quality”
-
No high-resolution pictures unless needed
Poor original = poor result.
A sub-standard scanned file will definitely not become better once compressed.
Step 2: Selecting the Correct Compression Approach
Not all compression algorithms are alike. Some are very harsh on the quality.
Different compression algorithms to expect:
-
Low compression = Highest quality and smallest size difference
-
Medium compression = Good balance (ideal for submissions)
-
High compression = Smallest size but highest risk of unreadability
You should always begin with medium compression. Upgrade only if it is required.
Step 3: Concentrate on Optimizing Images (Real Villain)
There is a lesser-known fact that:
Image files contribute the most to a PDF document’s size.
Therefore, you shouldn’t apply compression indiscriminately but rather concentrate on image optimization.
How to go about it:
-
Lower the resolution of the images to ~150–200 DPI (perfect for viewing on screens)
-
Convert color images to grayscale when color doesn’t matter
-
Eliminate the noise
This measure alone will reduce the file size significantly by 50-80%
Step 4: Using Reputable Tools (Not Just Any Website)
This is where most people screw up.
Tools to avoid:
- Over-compressing
-
Watermarking
-
Formatting errors
-
Even dull fonts
Reputable choices:
-
Adobe Acrobat (if you have access)
-
Smallpdf
-
ILovePDF
-
PDF24 Tools
Pro Tip: Preview your file before uploading.
Step 5: Always Check Readability Before Submission
This is a must-do step.
After compressing, open the file and do a quick check:
Checklist:
-
Are you able to zoom at 100% without difficulty?
-
Are handwritten sections legible?
-
Is the content coherent in diagrams?
-
Are margins readable?
-
Are there any distorted pages?
If something seems even slightly “odd,” your assessor will pick up on it.
Step 6: Preventing Repeated Compressions
It is an invisible killer.
With every successive compression of a PDF, its quality degrades even more.
Incorrect Method:
Compress > still big > compress again > and continue repeating
Correct Method:
Return to the original document > use better settings > compress only once correctly
Repeated Compressions=Exponential Quality Deterioration
Step 7: Splitting and Merging (Hidden Secret)
If your file is too big owing to too many pages:
Do this:
-
Split into 2 or 3 sections
-
Compress each one
-
Recombine
It works because:
- Compression software tends to work better on small files
-
You have more control over quality
Step 8: Flatten Layers With Caution
Some PDF files (particularly those created using design software) may have layers, annotations, or embedded objects.
Flattening strips away unneeded information.
However, exercise caution:
-
It could strip away editable content
-
It might reduce text clarity
Use only if the file size remains large after compression.
Step 9: Don’t Ignore File Format Conversion
Sometimes the issue isn’t compression—it’s the way the PDF was created.
Example:
-
Exporting from images → large size
-
Exporting directly from Word → smaller size
If possible, recreate the PDF properly instead of compressing a bad one.
Step: 10 To Be a Smart Submitter
Many platforms have restrictions such as:
- 5 MB
-
10 MB
-
20 MB
Do not try to be smaller than you need to be.
Simply just below the restriction with maximal readability
Why?
- Being under 1 MB doesn’t make any sense if you can’t read it
-
A 9.8 MB readable file beats 2 MB unrecognizable file
Scenario in Real Life
For instance, let’s imagine that you've uploaded a handwritten assignment of yours:
- Initial file size: 25 MB
-
Compress the file ruthlessly 2 MB
-
Consequence: distorted images, faded handwriting
What will the teacher think?
"Difficult to read" _ reduced grades
New method now:
- Upload cleanly
-
Grayscale conversion
-
Normal compression 6 MB
The teacher's opinion?
"Clear and clean" maximum possible marks
Things Not to Do
- Using random "free compressors" without preview
- Repeated compression
- Disregarding image clarity
- Submitting without reviewing
- Focusing on compression over readability
Last Thought: Marks Get Lost In Small Things
The truth is this:
There aren't any formal deductions for poor PDF quality.
But what about subconsciously?
- Neat document = good impression
-
Disorganized file = frustration
That definitely counts for something.